![]()
WP Pixel Integration with Magento
Warning
The plugin currently does not have active support.
In case of errors, we recommend integration via Google Tag Manager or manual insertion of the codes on the site.
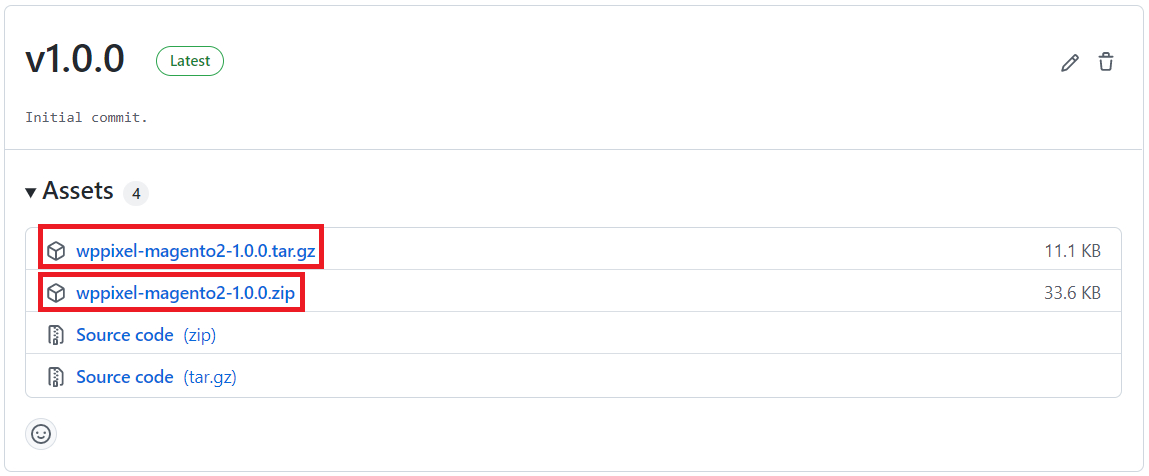
Step 1: Download the Module
Download the latest version of the module package (ZIP or TAR.GZ) from: WP Pixel – Magento 2 (GitHub)
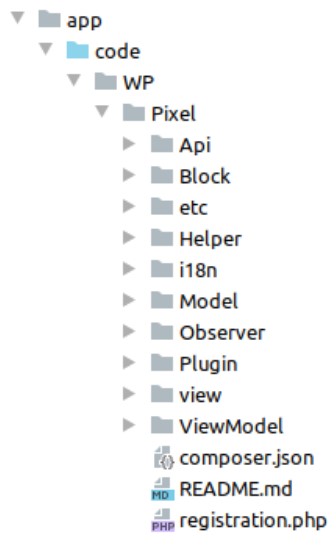
Step 2: Install the Module
- Extract the
.ziparchive. - Copy its contents to the following directory in your Magento instance:
app/code/WP/Pixel
Note
If the WP/Pixel directory does not exist, please create it manually.
Step 3: Enable the Module in Magento
Enable the module and upgrade the setup using the Magento CLI from your project root.
php bin/magento module:enable WP_Pixel --clear-static-content
php bin/magento setup:upgrade
Step 4: Configure the Module
In the Magento admin panel, go to: Stores → Configuration → WP → WP Pixel
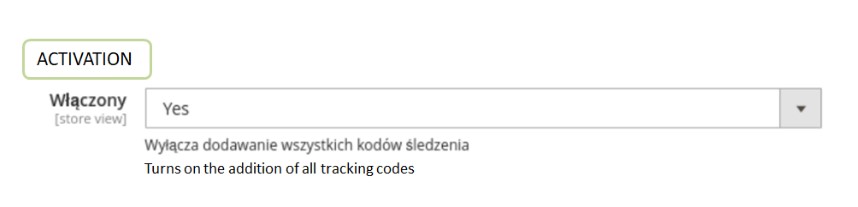
- Enable the module
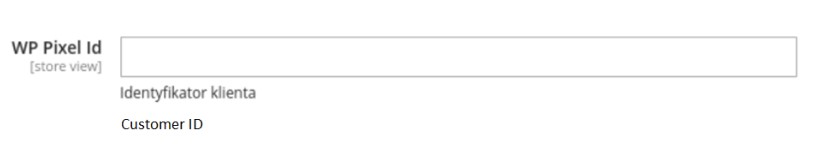
- Paste your WP Pixel ID
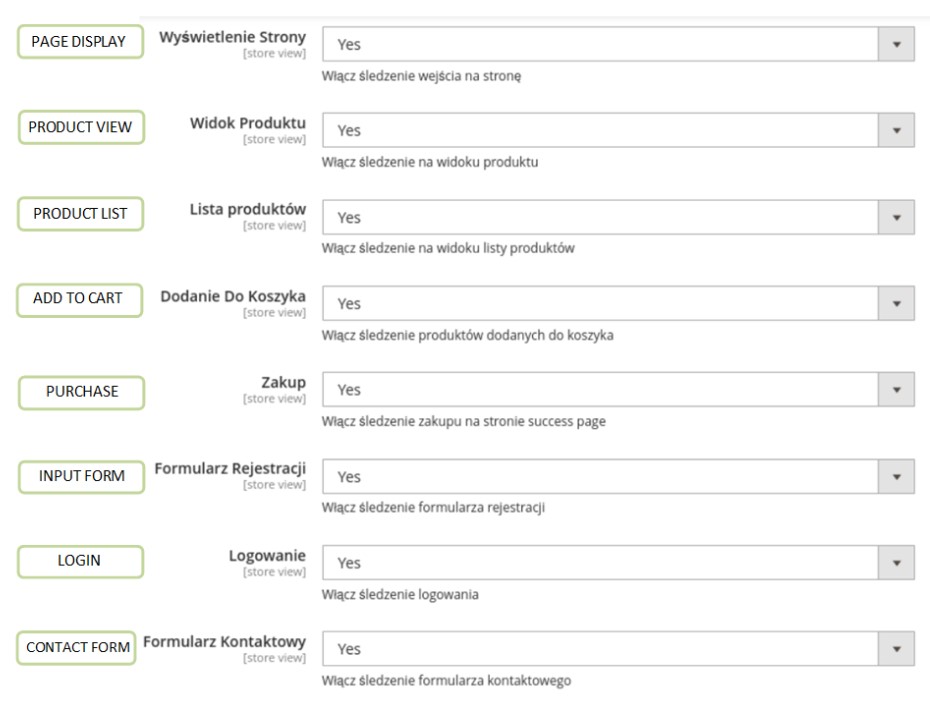
- Select which events you want to track
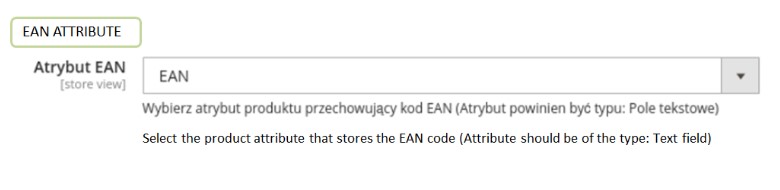
- (Optional) Choose the attribute for EAN code
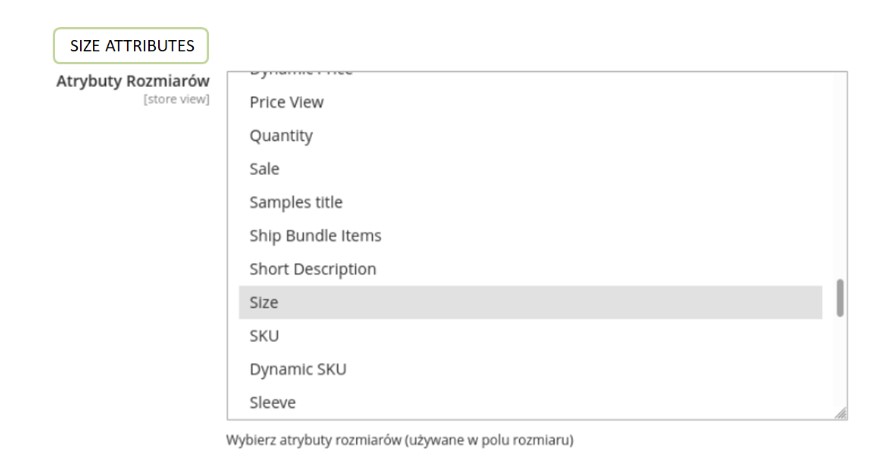
- (Optional) Choose Size attributes for your products
Step 5: Supported Tracking Events
The module enables tracking of the following customer actions:
- Page views
- Product and category views
- Add to cart
- Purchases (transactions)
- Account registration and login
- Contact form views and submissions
- Custom CMS pages (via widget)
Step 6: Magento Admin Configuration Screens
Enable the Module
Set Your WP Pixel ID
Configure Event Tracking
EAN Attribute (Optional)
Product Size Attributes (Optional)
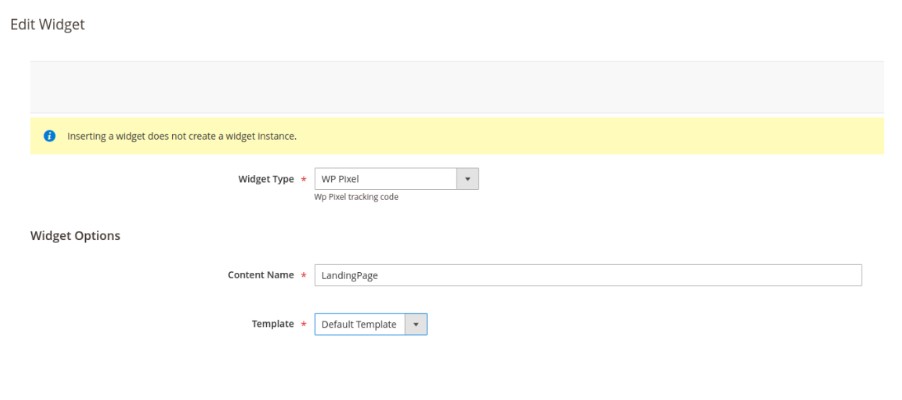
CMS Widget Support
You can place the WP Pixel widget in CMS pages or static blocks to track custom paths.
Done!
WP Pixel has been successfully installed and configured for your Magento store. 🎉
Warning
The Plugin is provided “AS IS”, WITHOUT ANY WARRANTIES, either express or implied, including but not limited to implied warranties of merchantability, fitness for a particular purpose, proper functioning, compatibility with external platforms (such as Shopify, WooCommerce, PrestaShop, or other e-commerce systems), or compatibility with other plugins. Wirtualna Polska Media S.A. does not warrant that the Plugin will be error-free, operate without interruption, or meet the User’s expectations.
TO THE MAXIMUM EXTENT PERMITTED BY LAW, WIRTUALNA POLSKA MEDIA S.A. DISCLAIMS ALL LIABILITY for any damages arising from the use of or inability to use the Plugin, including indirect, consequential, or incidental damages, loss of profits, data, or business interruption, regardless of the legal basis of the claim.
Wirtualna Polska Media S.A. may, but is not obligated to, update the Plugin. The company shall not be liable for any issues resulting from updates, changes to APIs or infrastructures of external platforms (e.g., Shopify, WooCommerce, PrestaShop, or other e-commerce systems), or interactions with other software. The User is responsible for testing the Plugin before production use and bears sole responsibility for maintaining compatibility within their environment. By using the Plugin, the User accepts these terms and assumes all risks associated with its use.
The above provisions do not exclude liability for damages caused intentionally by Wirtualna Polska Media S.A., nor in any cases where such exclusion would be contrary to mandatory provisions of law.