![]()
WP Pixel Integration with IdoSell
Step 1: Download the File
Download the integration package: wppixel-iai-1.2.6.zip
Note
After downloading, unzip the .zip archive.
Inside, you will find the file wppixel-iai-1.2.6.xml, which will be required in the following steps.
Step 2: Access the Proper Section in the Admin Panel
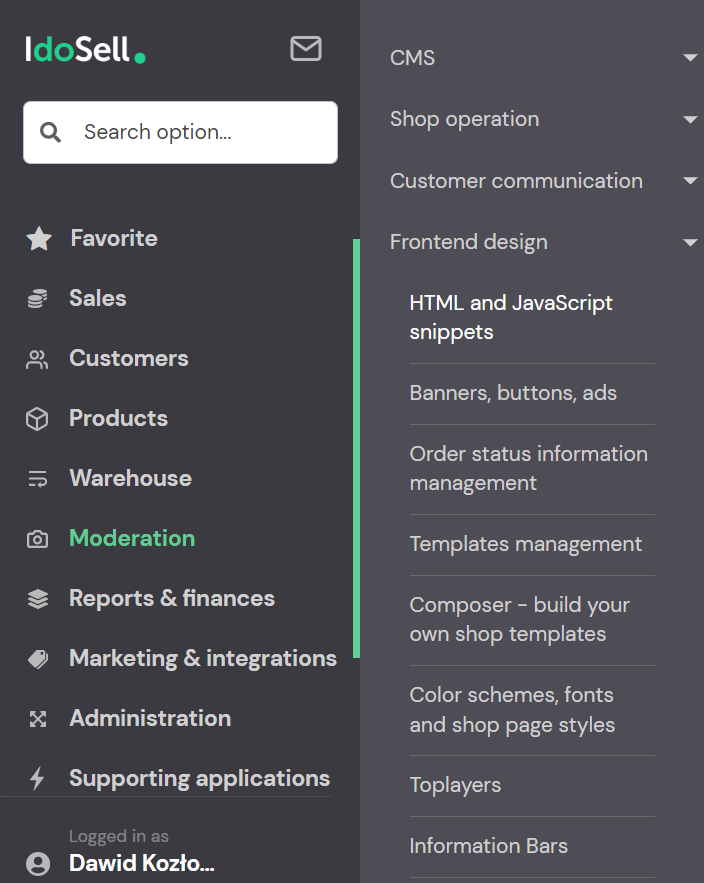
- Log in to your IdoSell store's admin panel.
- Navigate to: Shop → Optimization and Functionality → HTML/JS Add-ons
Step 3: Import the XML File
-
Click on Import ICF Campaign
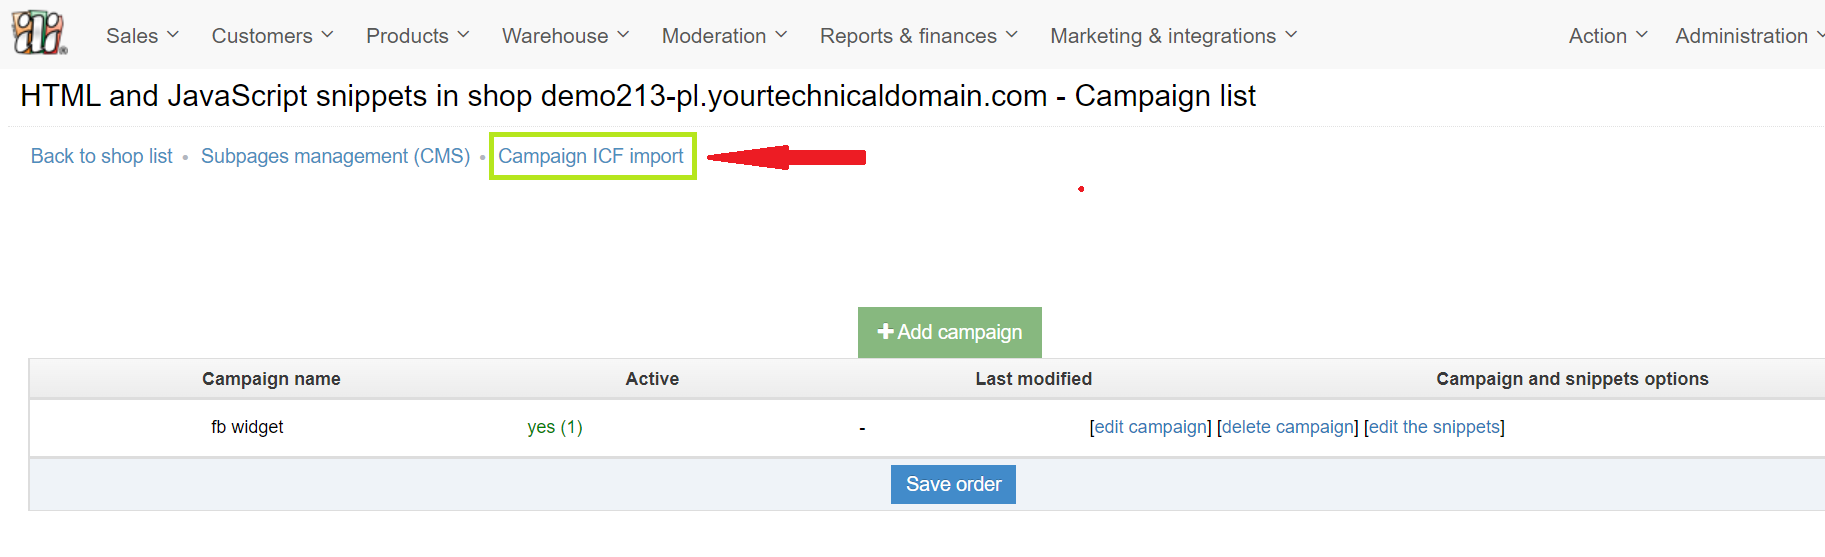
-
Select the
wppixel-iai-1.2.6.xmlfile and click Upload file
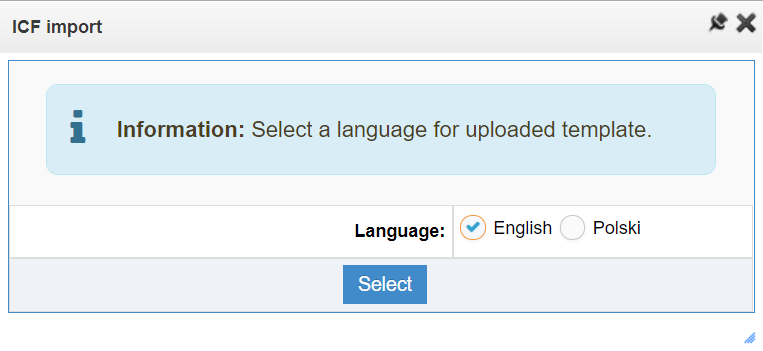
Step 4: Choose Language
If your store supports multiple languages:
- Select: English
- Click: Select
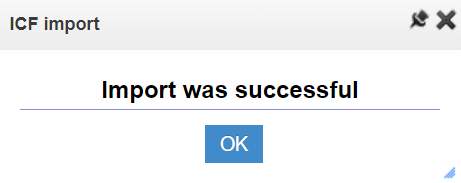
Step 5: Import Confirmation
Once the file has been successfully imported, you will see the confirmation message:
Import completed successfully
Step 6: Edit the Campaign
Click Edit Campaign to proceed with configuration.

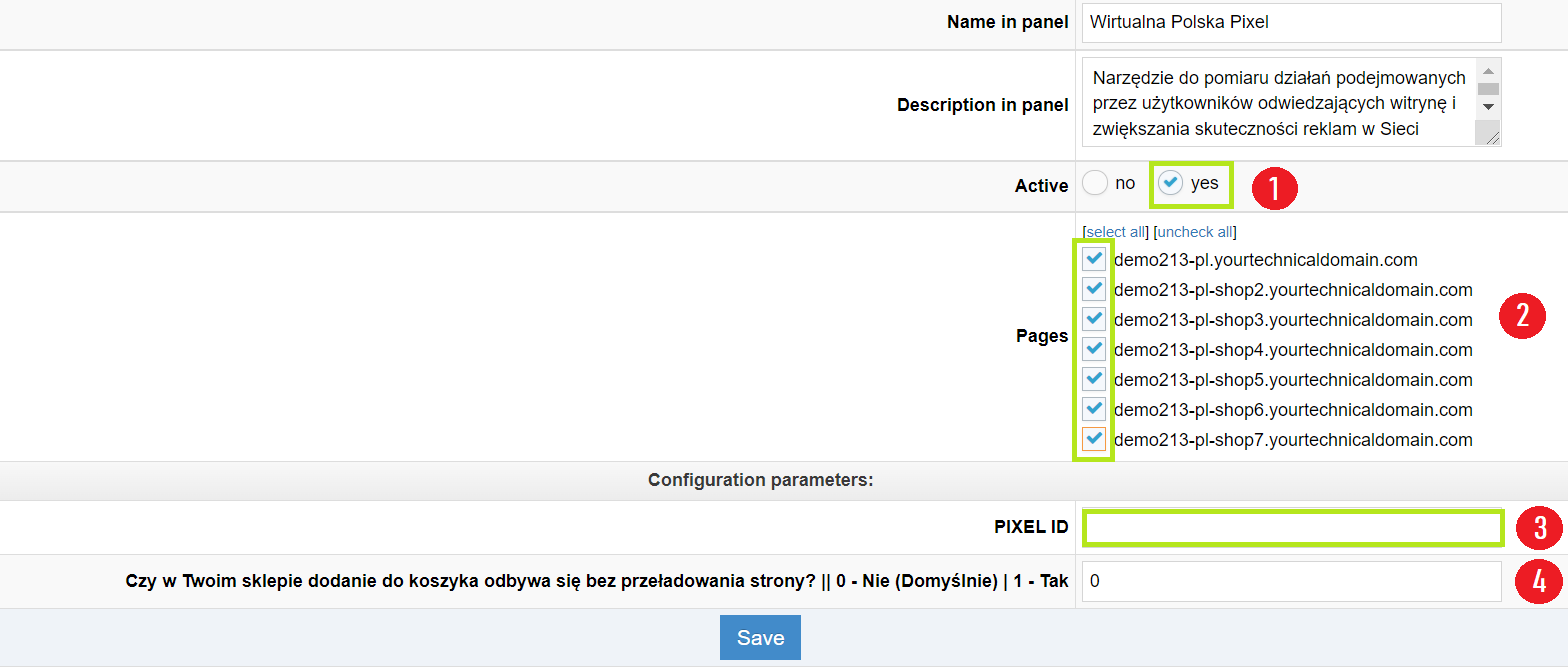
Step 7: Configure WP Pixel
In the configuration form:
- Active: Select Yes
- Pages: Select the stores where WP Pixel should be enabled
- PIXEL ID: Enter your unique Pixel identifier
- Configuration parameters: If you're using a custom template with dynamic "add to cart" functionality, enter 1
Step 8: Save and Wait
Click Save and wait approximately 15 minutes – WP Pixel will become active shortly after.

Done!
Your WP Pixel has been successfully imported and configured 🎉
Warning
The Plugin is provided “AS IS”, WITHOUT ANY WARRANTIES, either express or implied, including but not limited to implied warranties of merchantability, fitness for a particular purpose, proper functioning, compatibility with external platforms (such as Shopify, WooCommerce, PrestaShop, or other e-commerce systems), or compatibility with other plugins. Wirtualna Polska Media S.A. does not warrant that the Plugin will be error-free, operate without interruption, or meet the User’s expectations.
TO THE MAXIMUM EXTENT PERMITTED BY LAW, WIRTUALNA POLSKA MEDIA S.A. DISCLAIMS ALL LIABILITY for any damages arising from the use of or inability to use the Plugin, including indirect, consequential, or incidental damages, loss of profits, data, or business interruption, regardless of the legal basis of the claim.
Wirtualna Polska Media S.A. may, but is not obligated to, update the Plugin. The company shall not be liable for any issues resulting from updates, changes to APIs or infrastructures of external platforms (e.g., Shopify, WooCommerce, PrestaShop, or other e-commerce systems), or interactions with other software. The User is responsible for testing the Plugin before production use and bears sole responsibility for maintaining compatibility within their environment. By using the Plugin, the User accepts these terms and assumes all risks associated with its use.
The above provisions do not exclude liability for damages caused intentionally by Wirtualna Polska Media S.A., nor in any cases where such exclusion would be contrary to mandatory provisions of law.